
The Lightweight Fursuit Body Dryer served me well for the last eight years, but recently the arms started to drop under the weight of the suit. Also, it just barely fits into the fursuit box or my large suitcase. So I built this very cheap but more compact and sturdy bodysuit dryer:
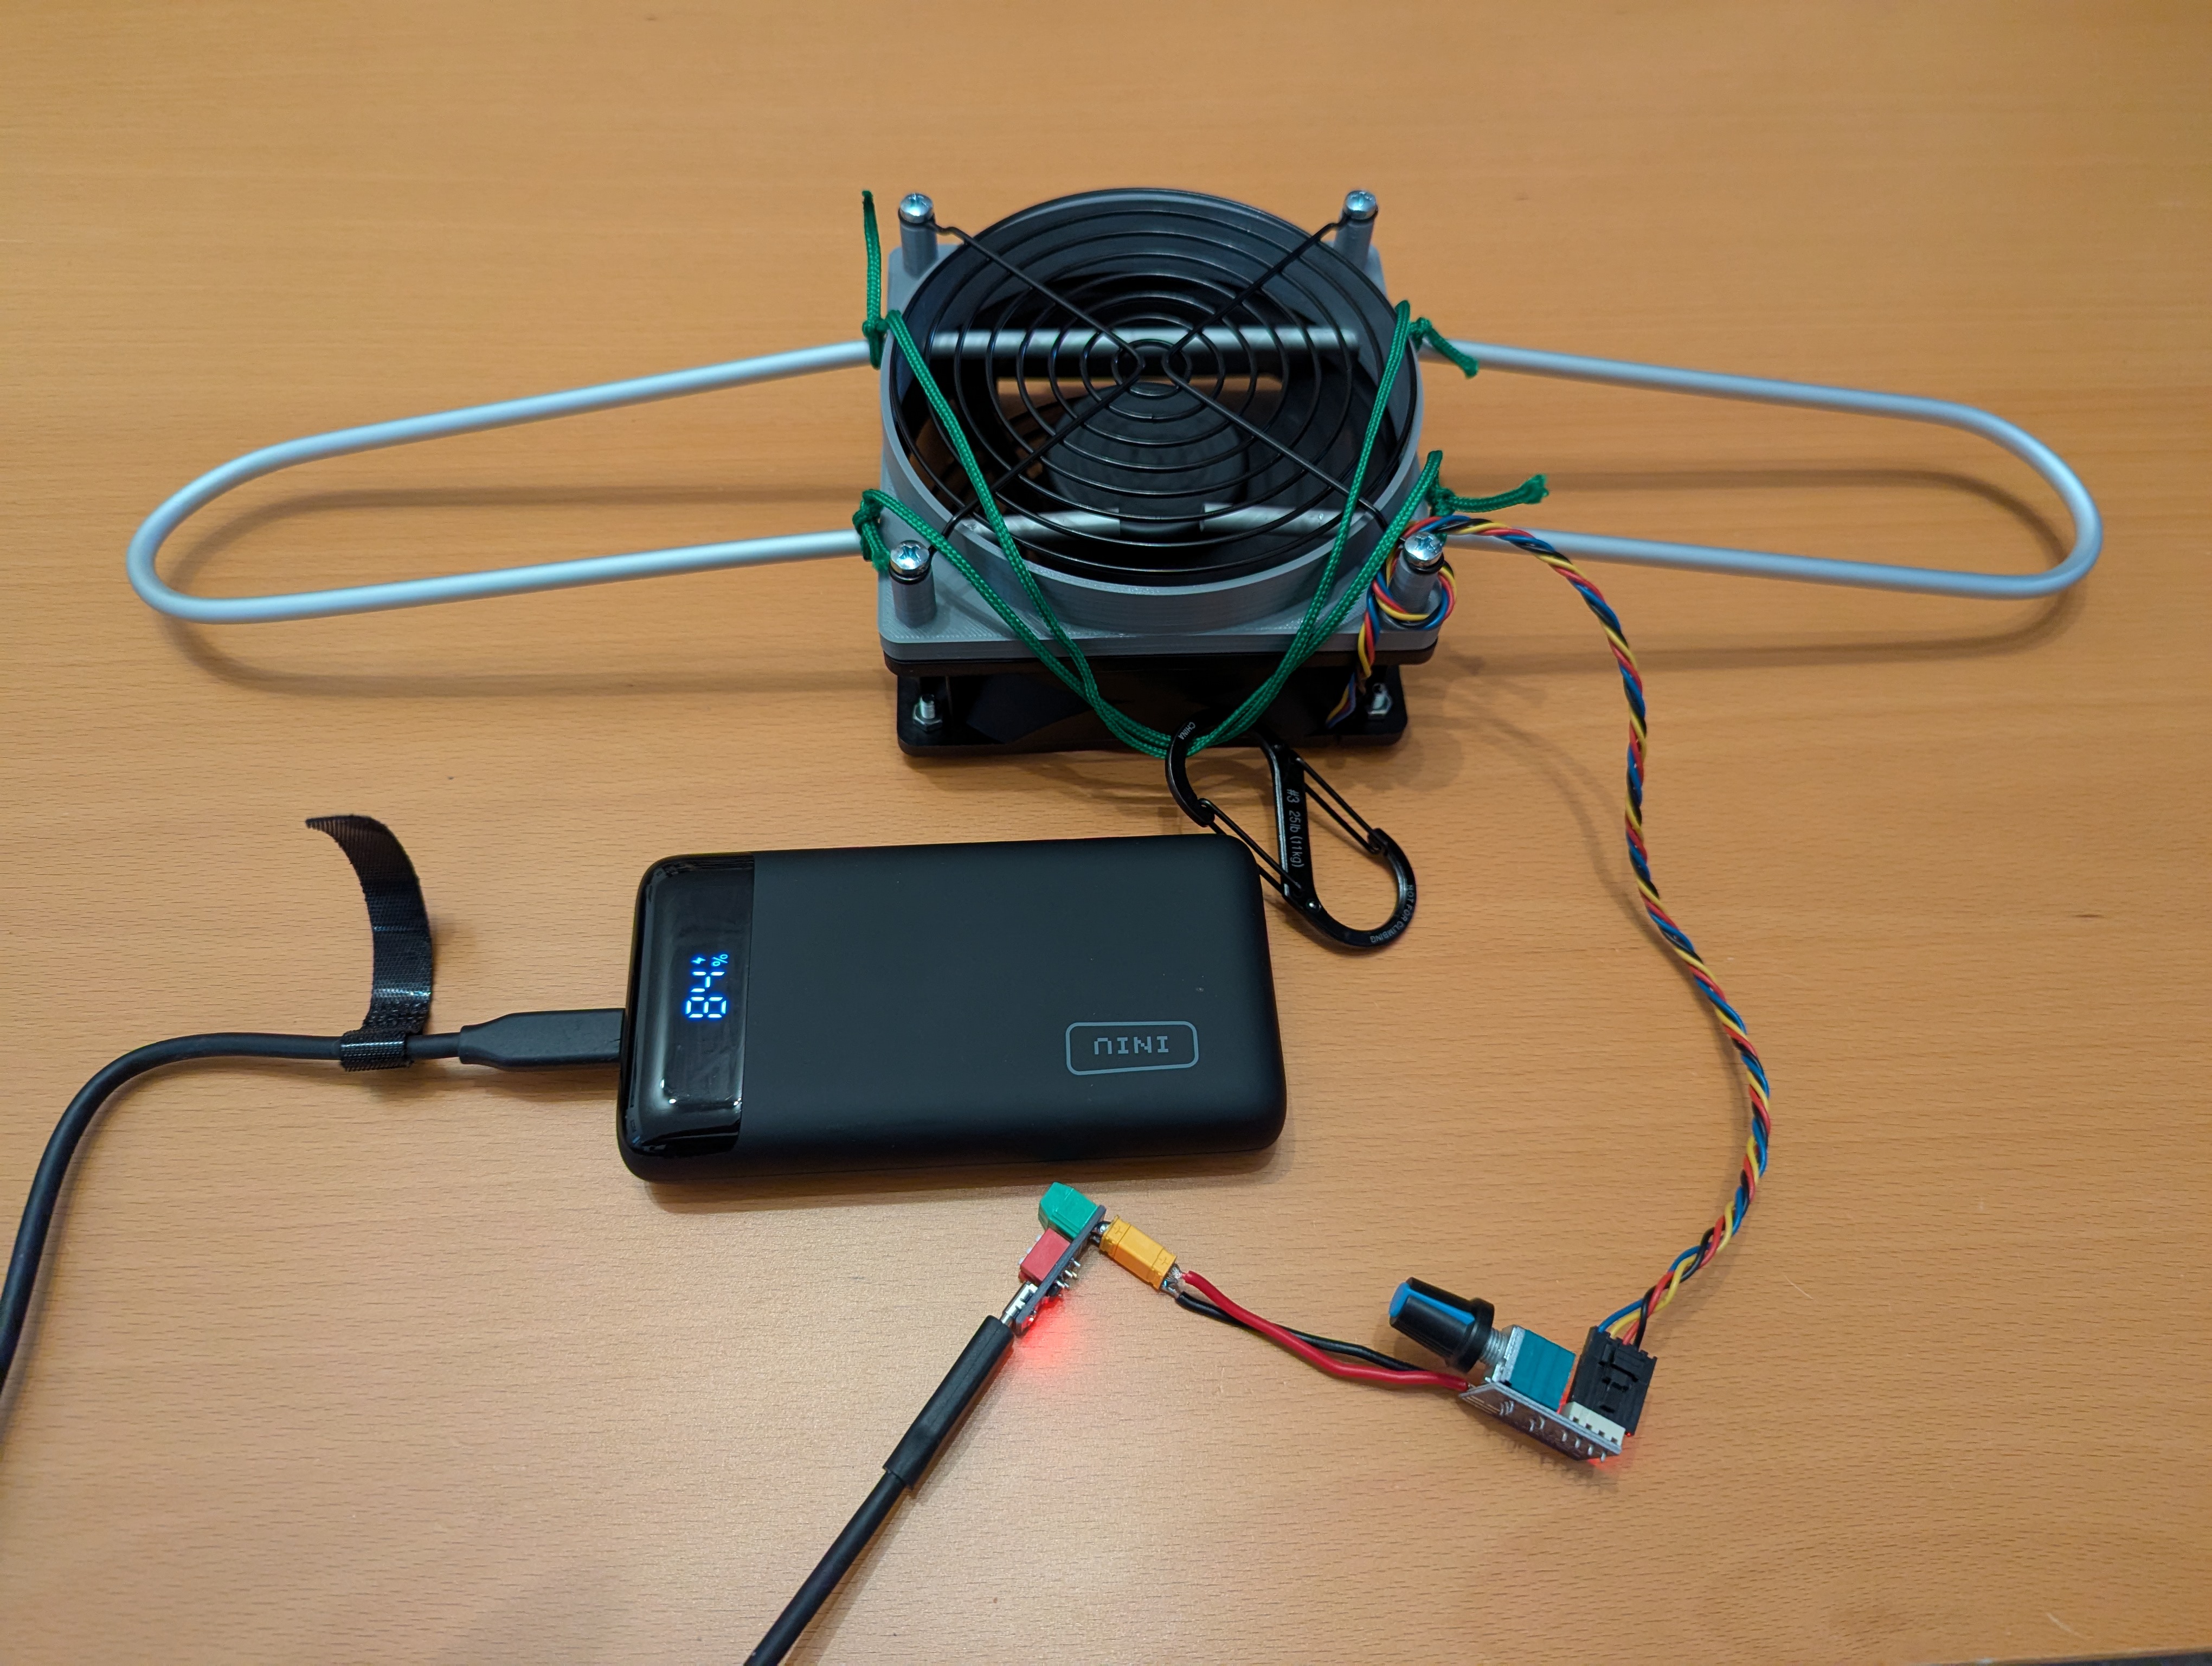
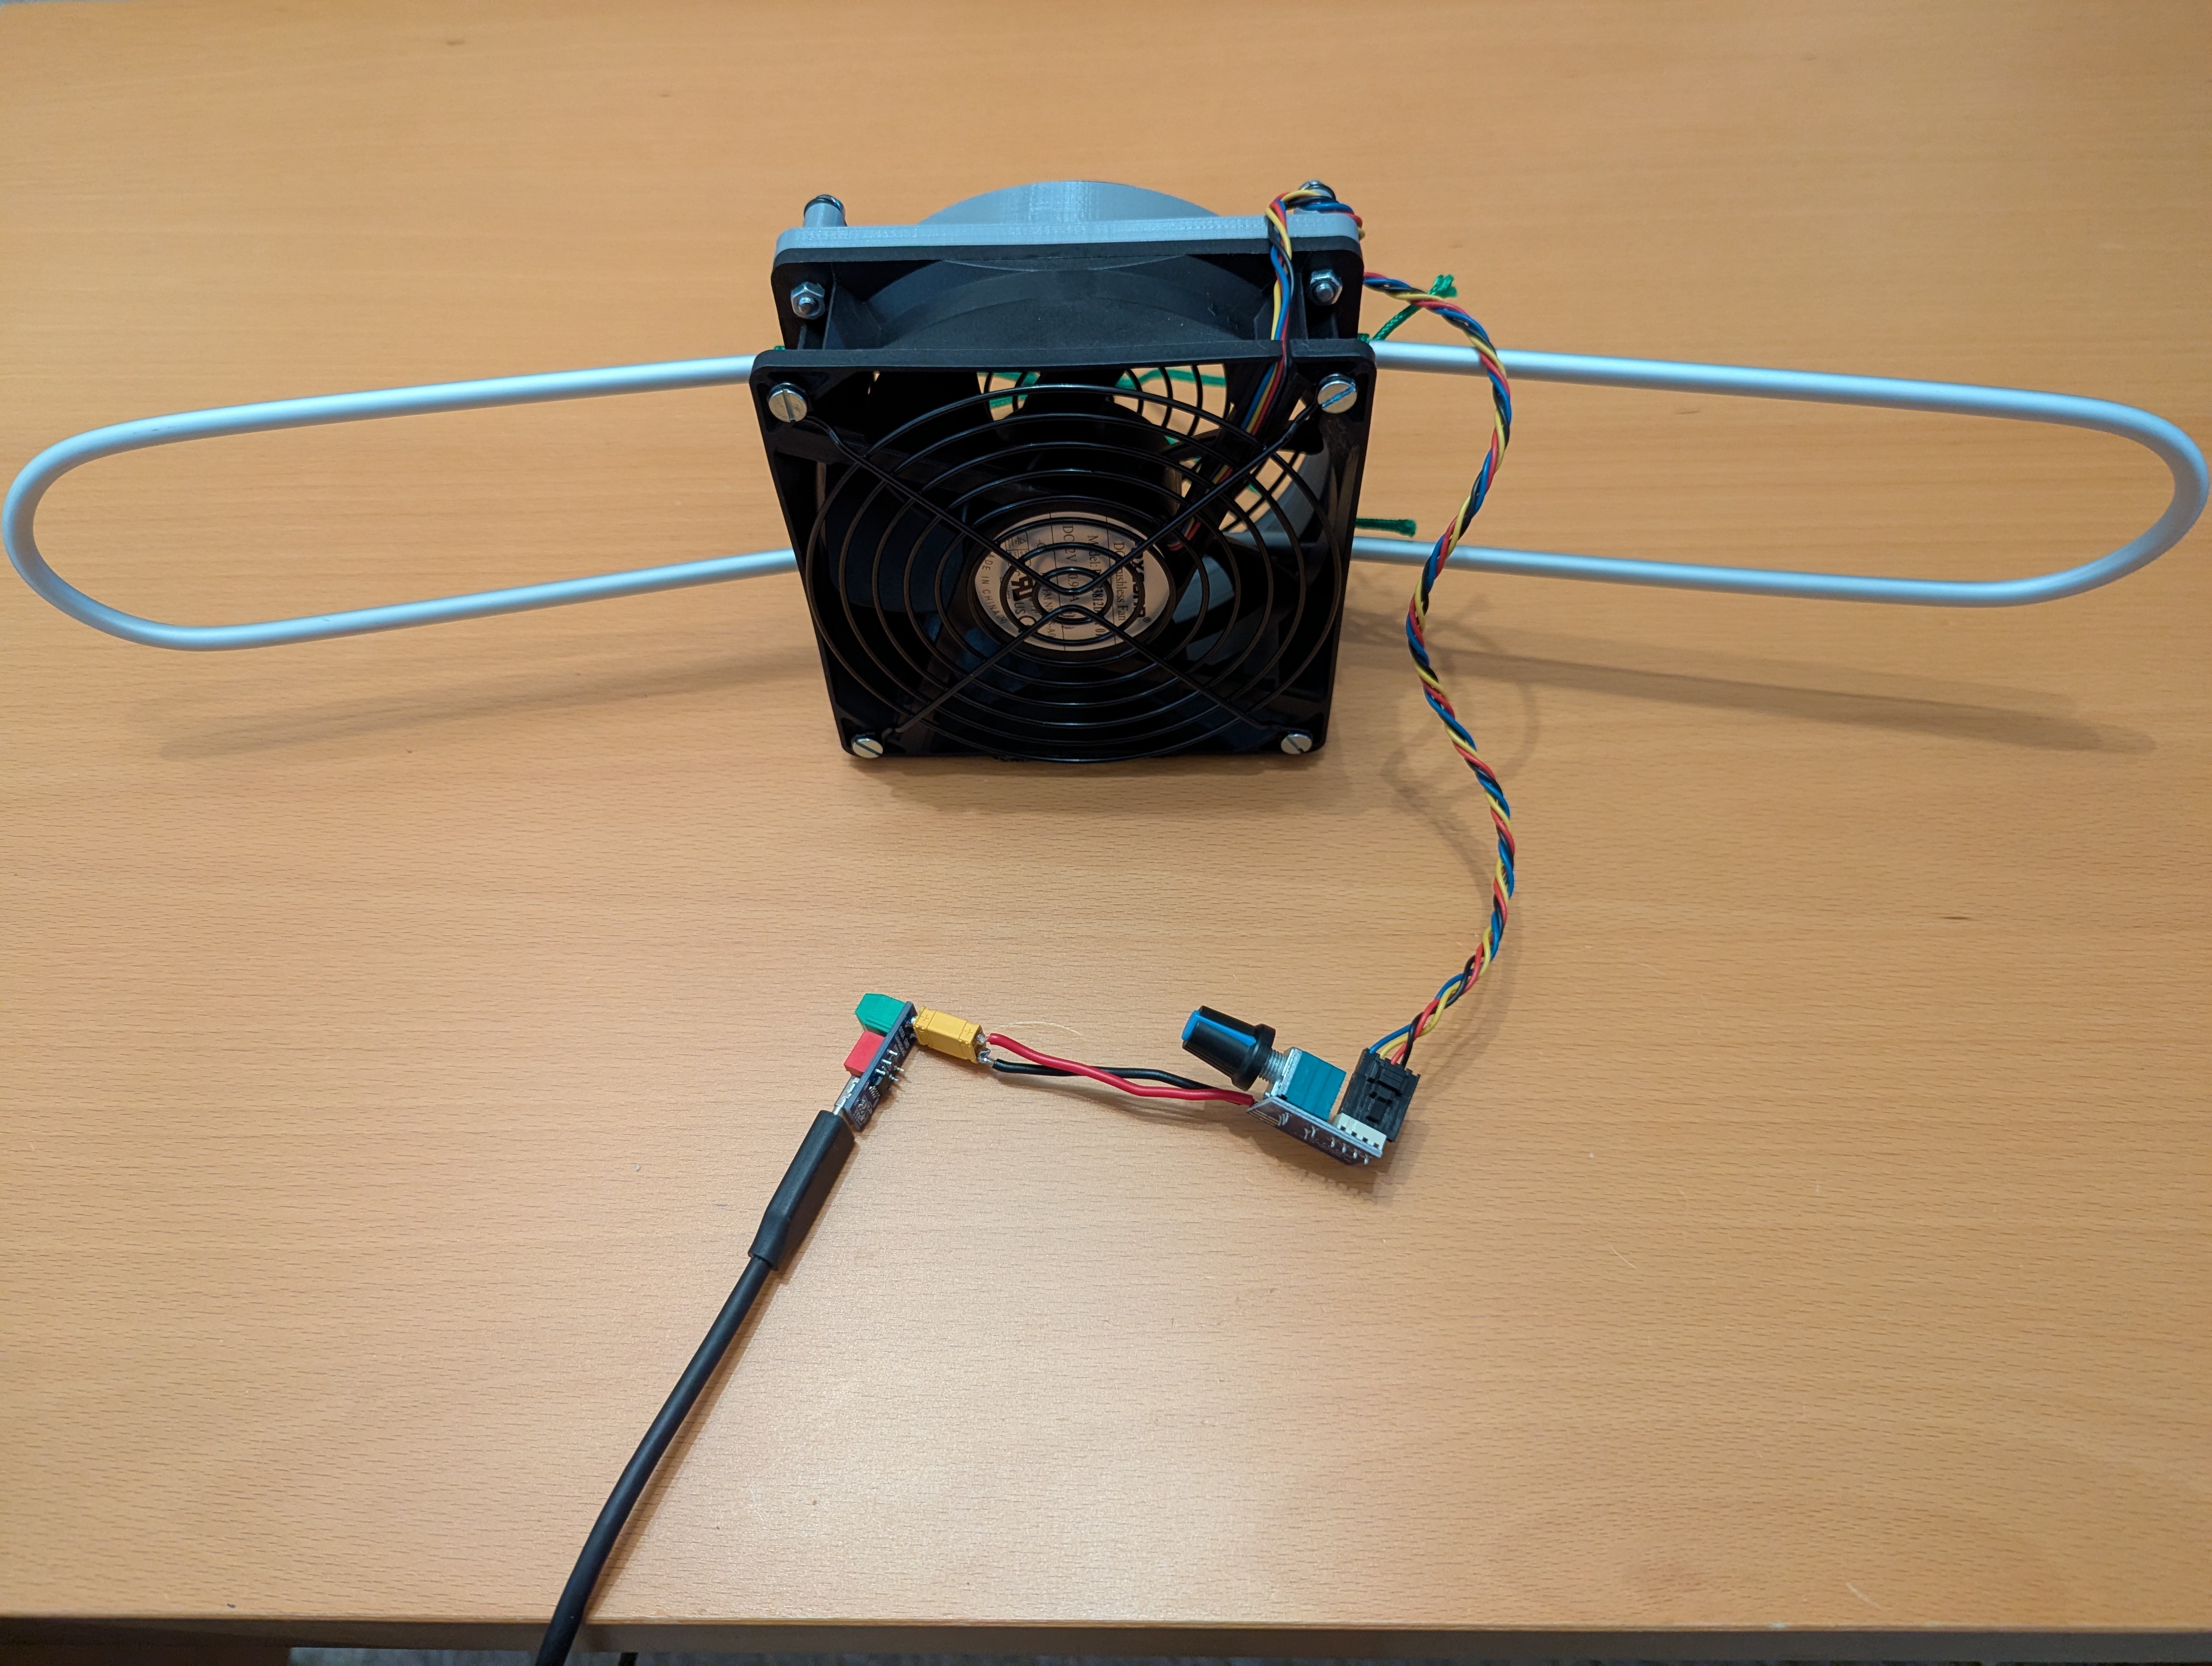
The new fursuit bodysuit dryer is made of a 6 mm solid aluminum rod with a length of 1 m, a 120 mm computer case fan, a 3D printed mount and some cord to actually hang it somewhere.
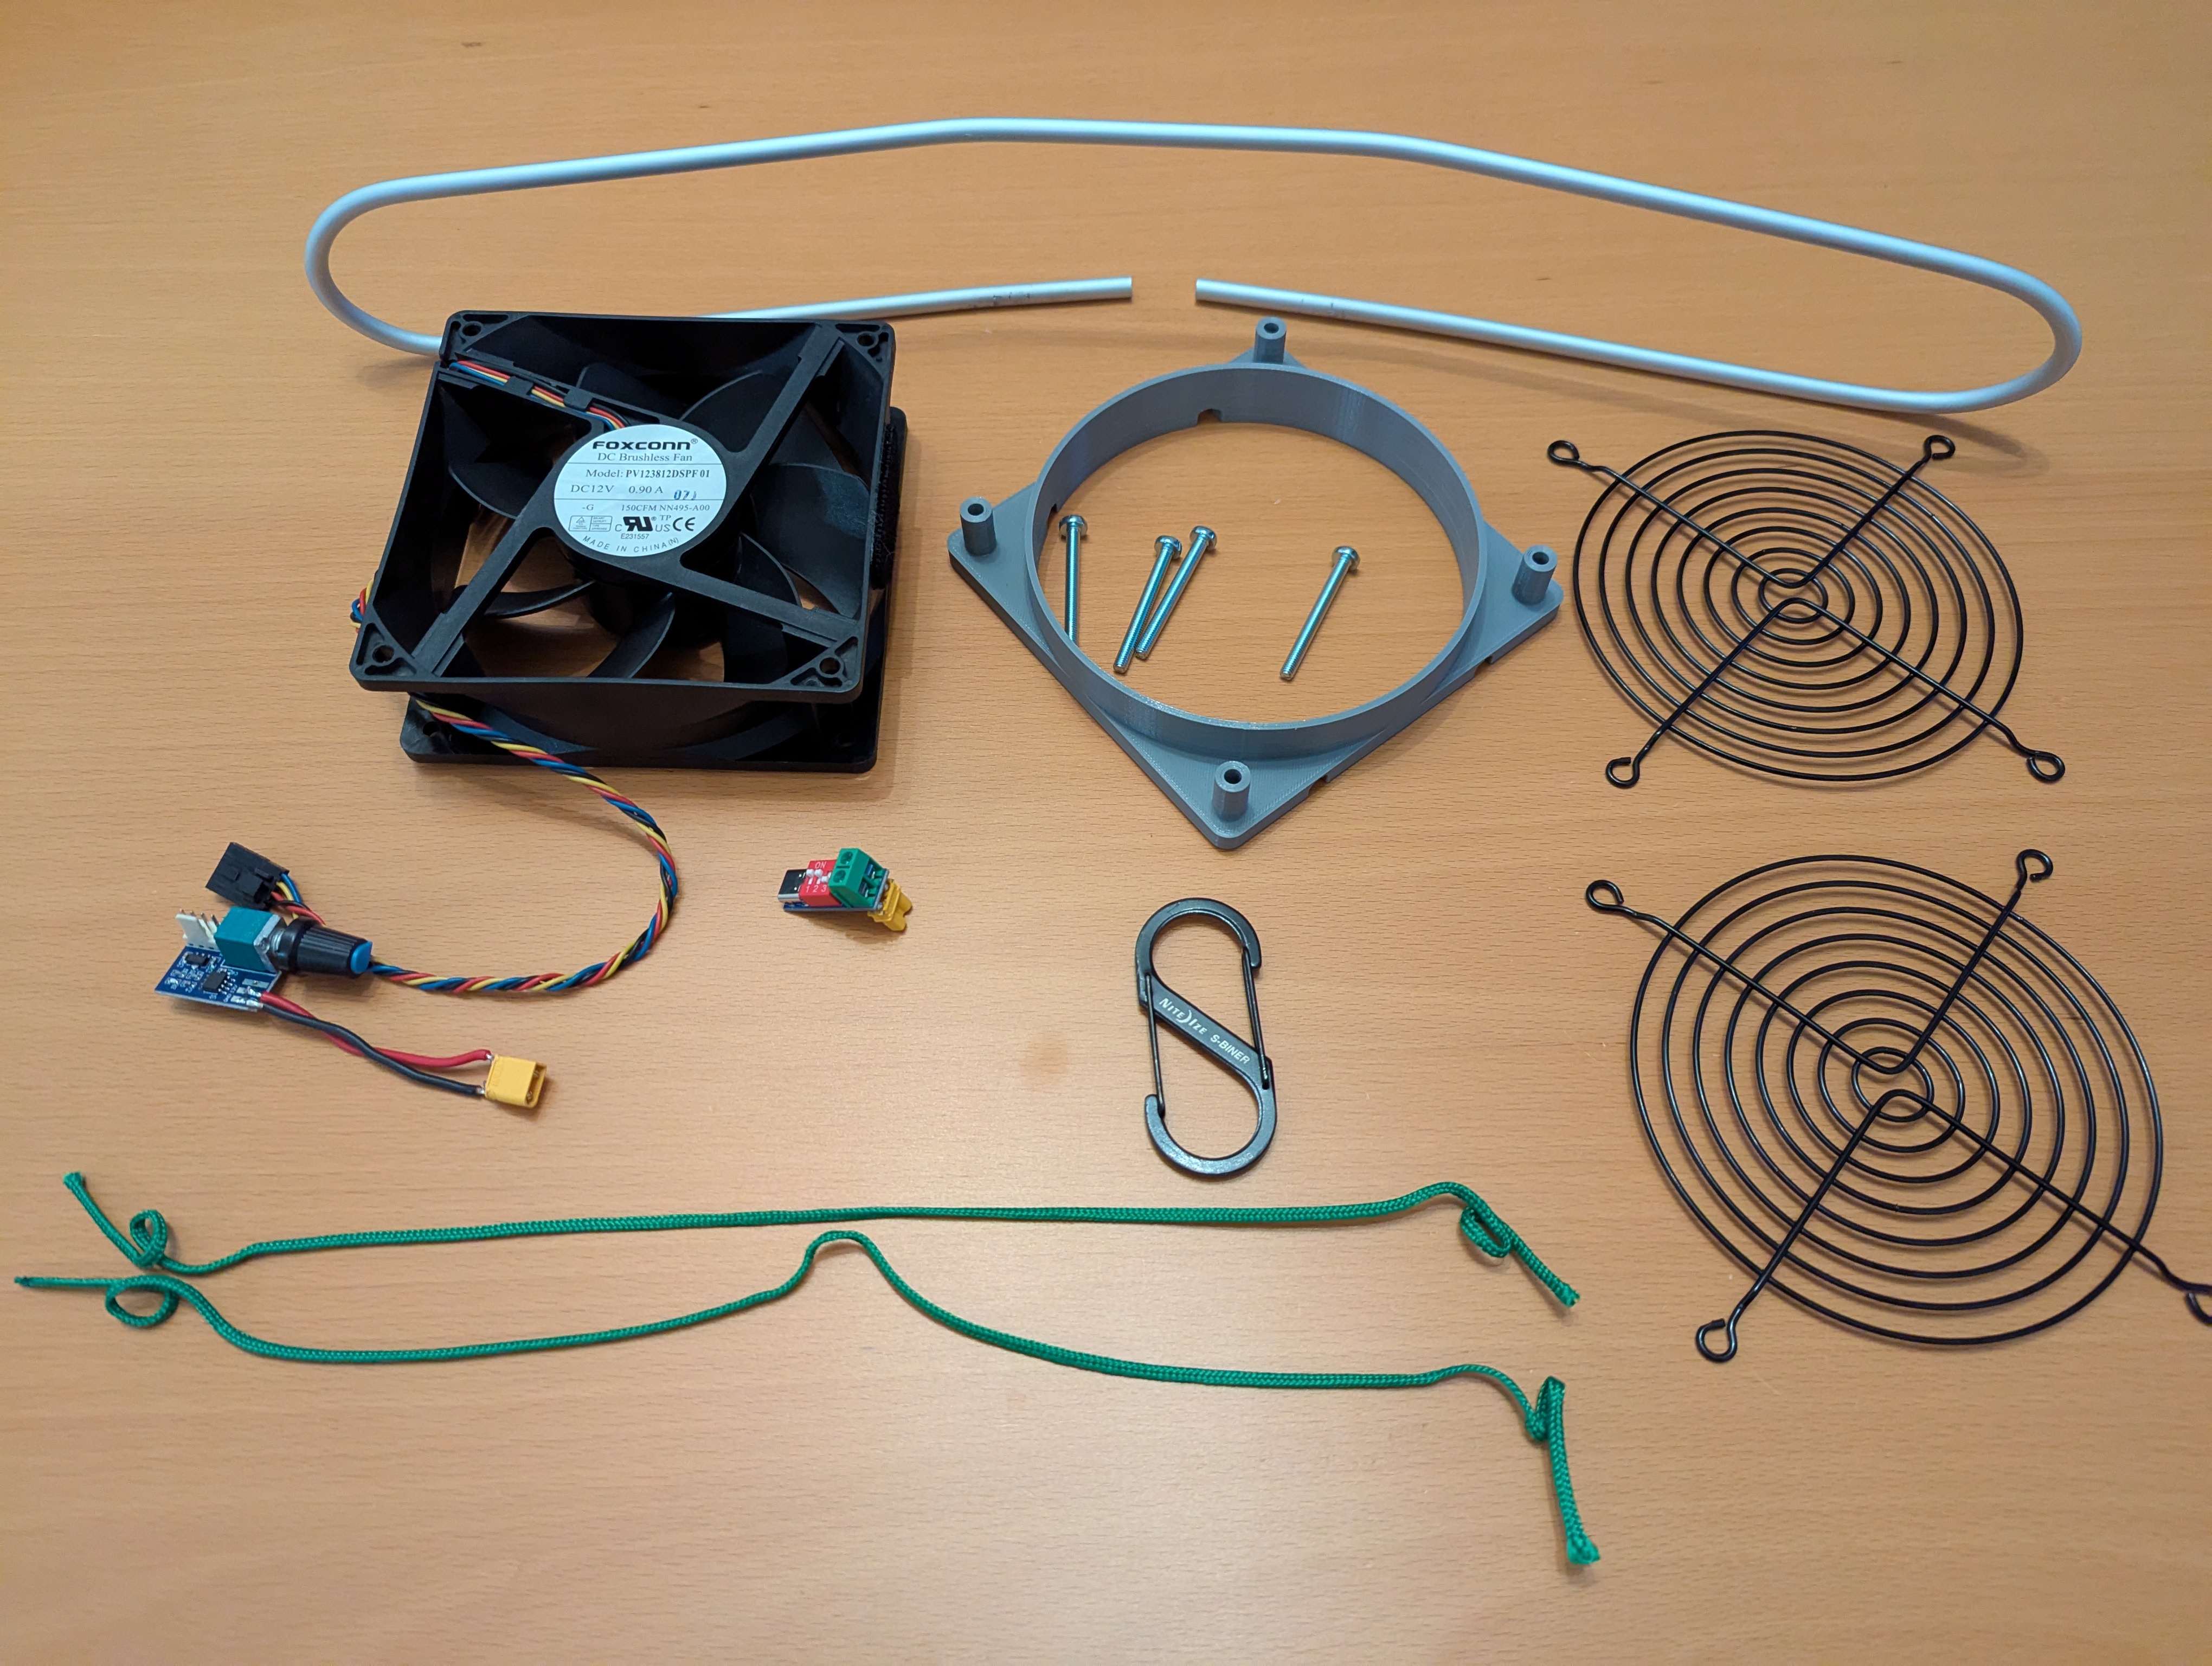
You'll also need something round to bend the rod into a loop, I've used a 50 mm wooden cabinet foot for that. The fan is a four-wire Foxconn PV123812DSPF for a Dell computer case, which is surprisingly silent for 11 W / 150 CFM fan. Note that it comes with a 5-pin connector and a non-standard pin configuration. The connector needs to be adjusted if you want to connect it to a standard 4-pin PWM controller.
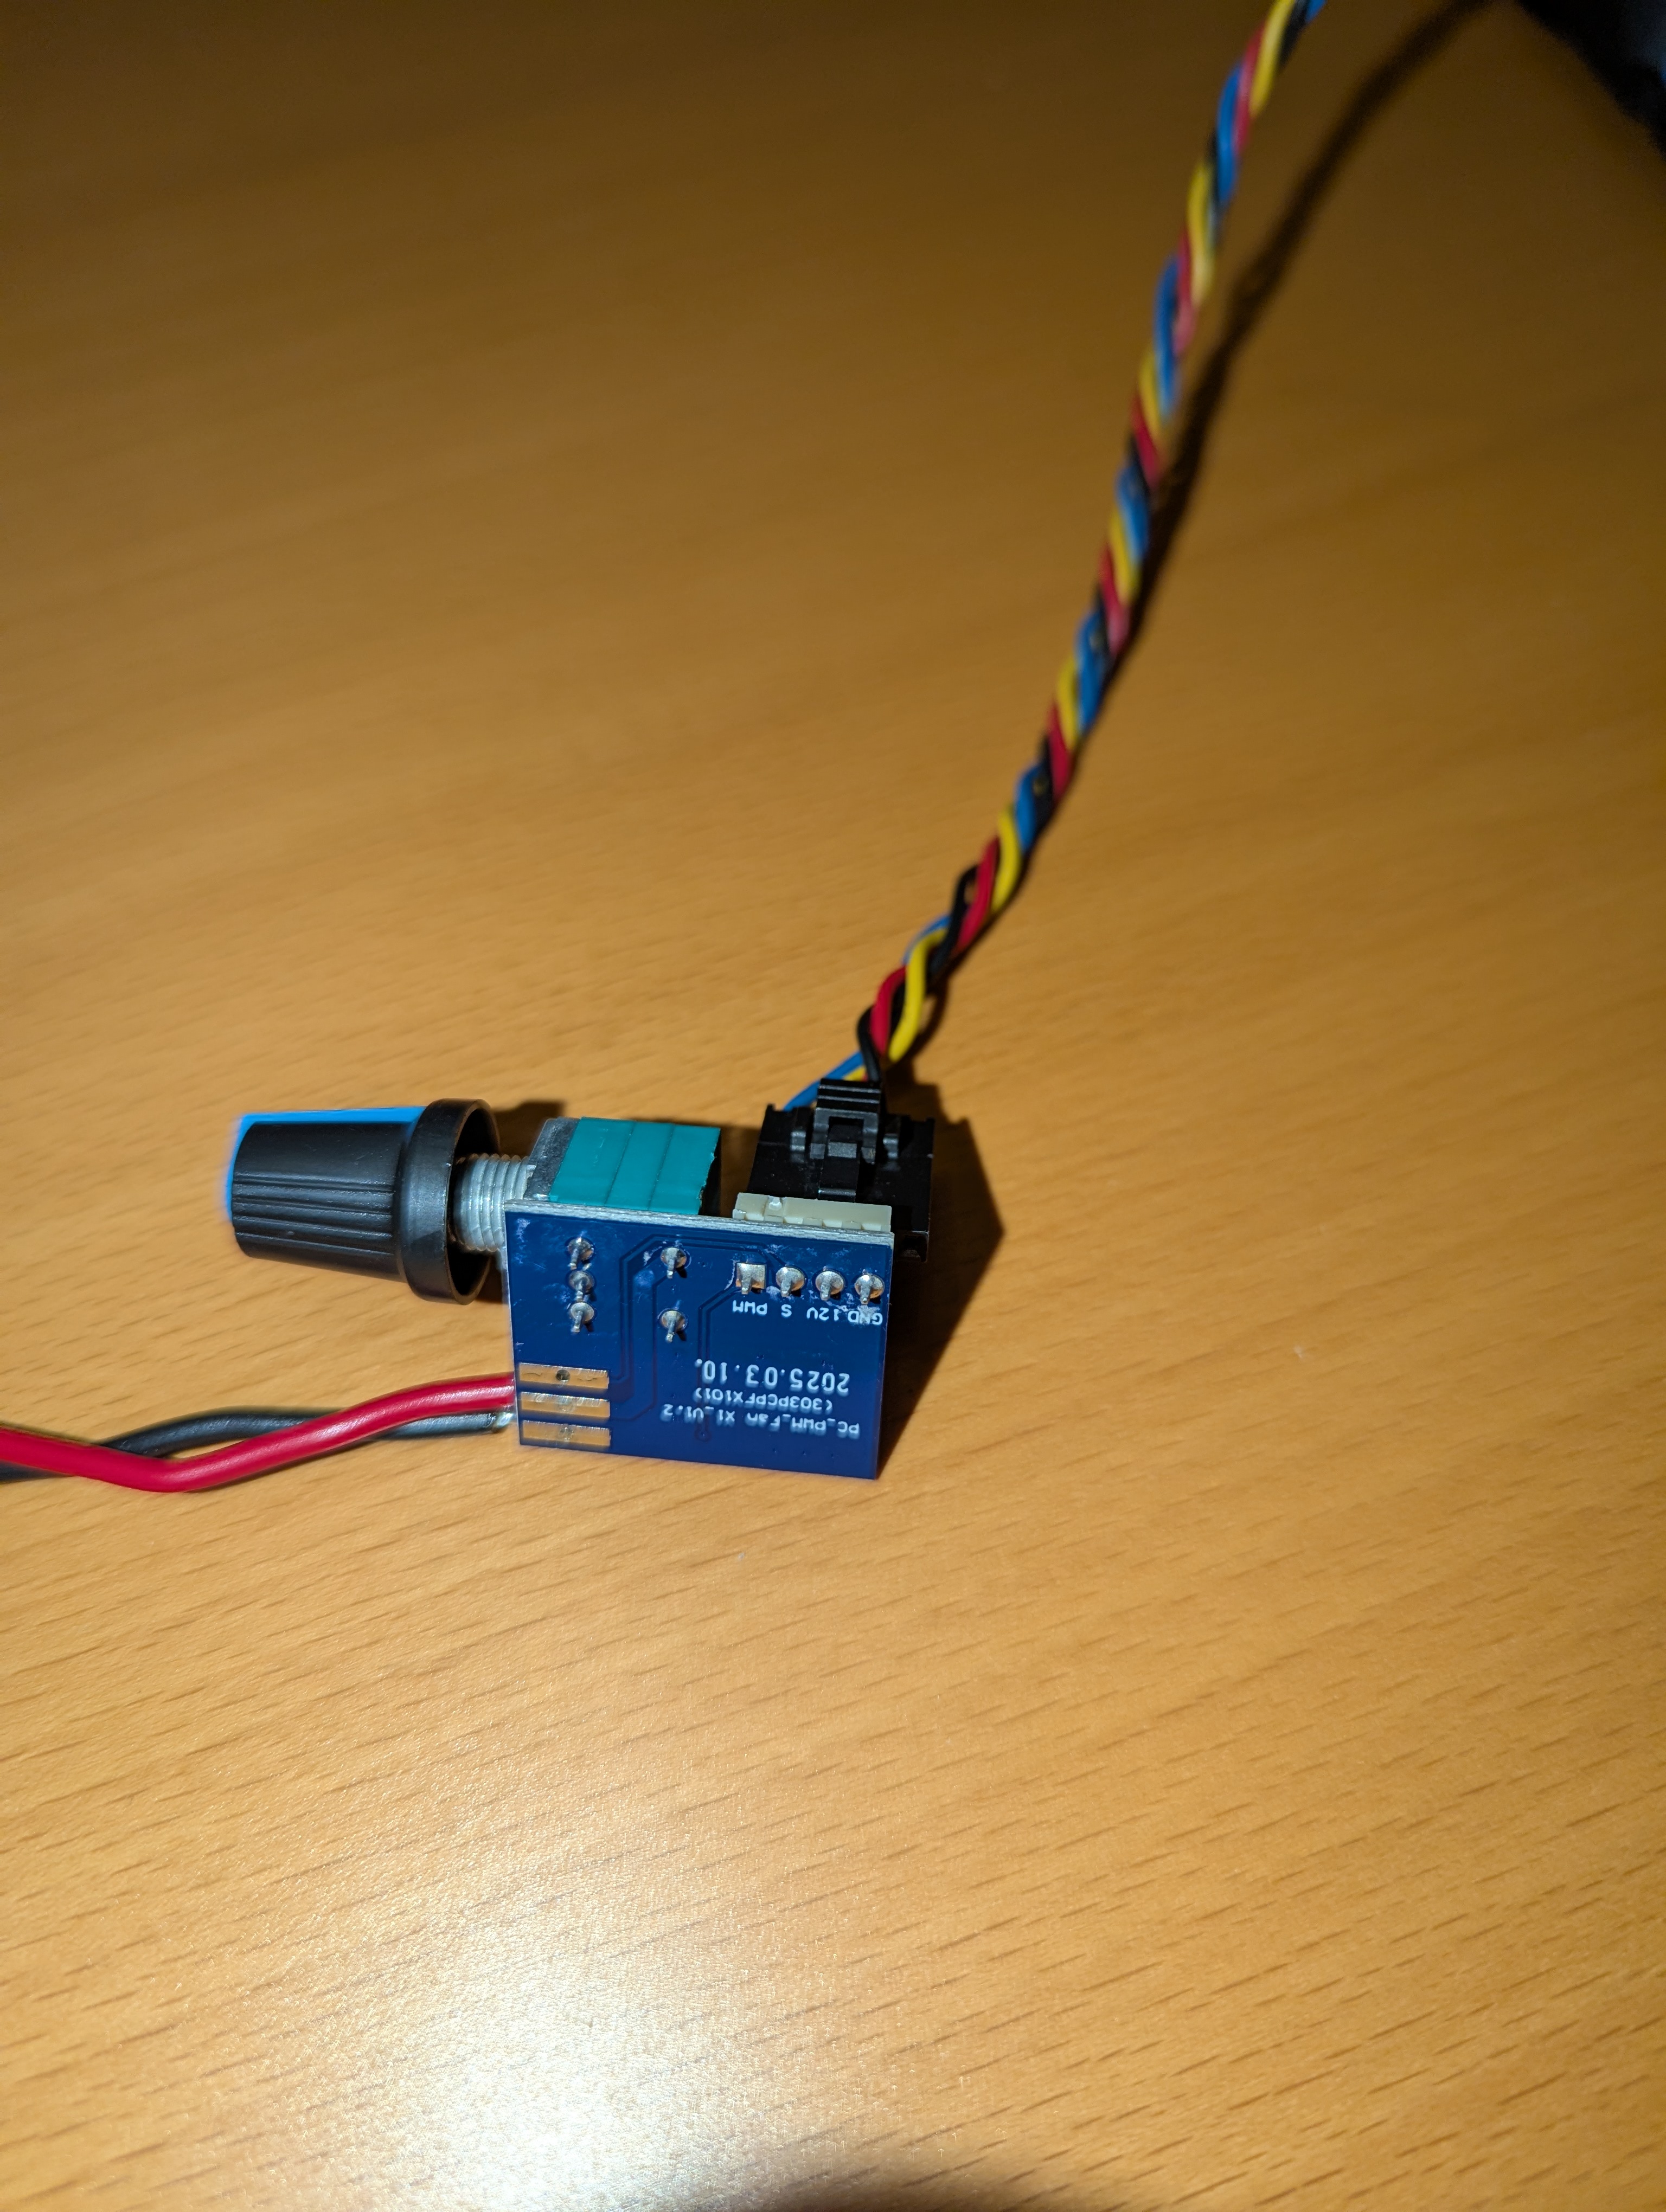
However, the electronics, a 12 V PWM controller and a USB C “trigger module” to select 12 V from the USB port, are optional. You can just run it off a 12 V power supply or a 12 V battery.
The distance of the mounting holes for 120 mm chassis fans is usually (!) 105 mm, but may vary. Measure it before you print the mount and adjust the parameters in the OpenSCAD file accordingly, then rebuild the STL file.
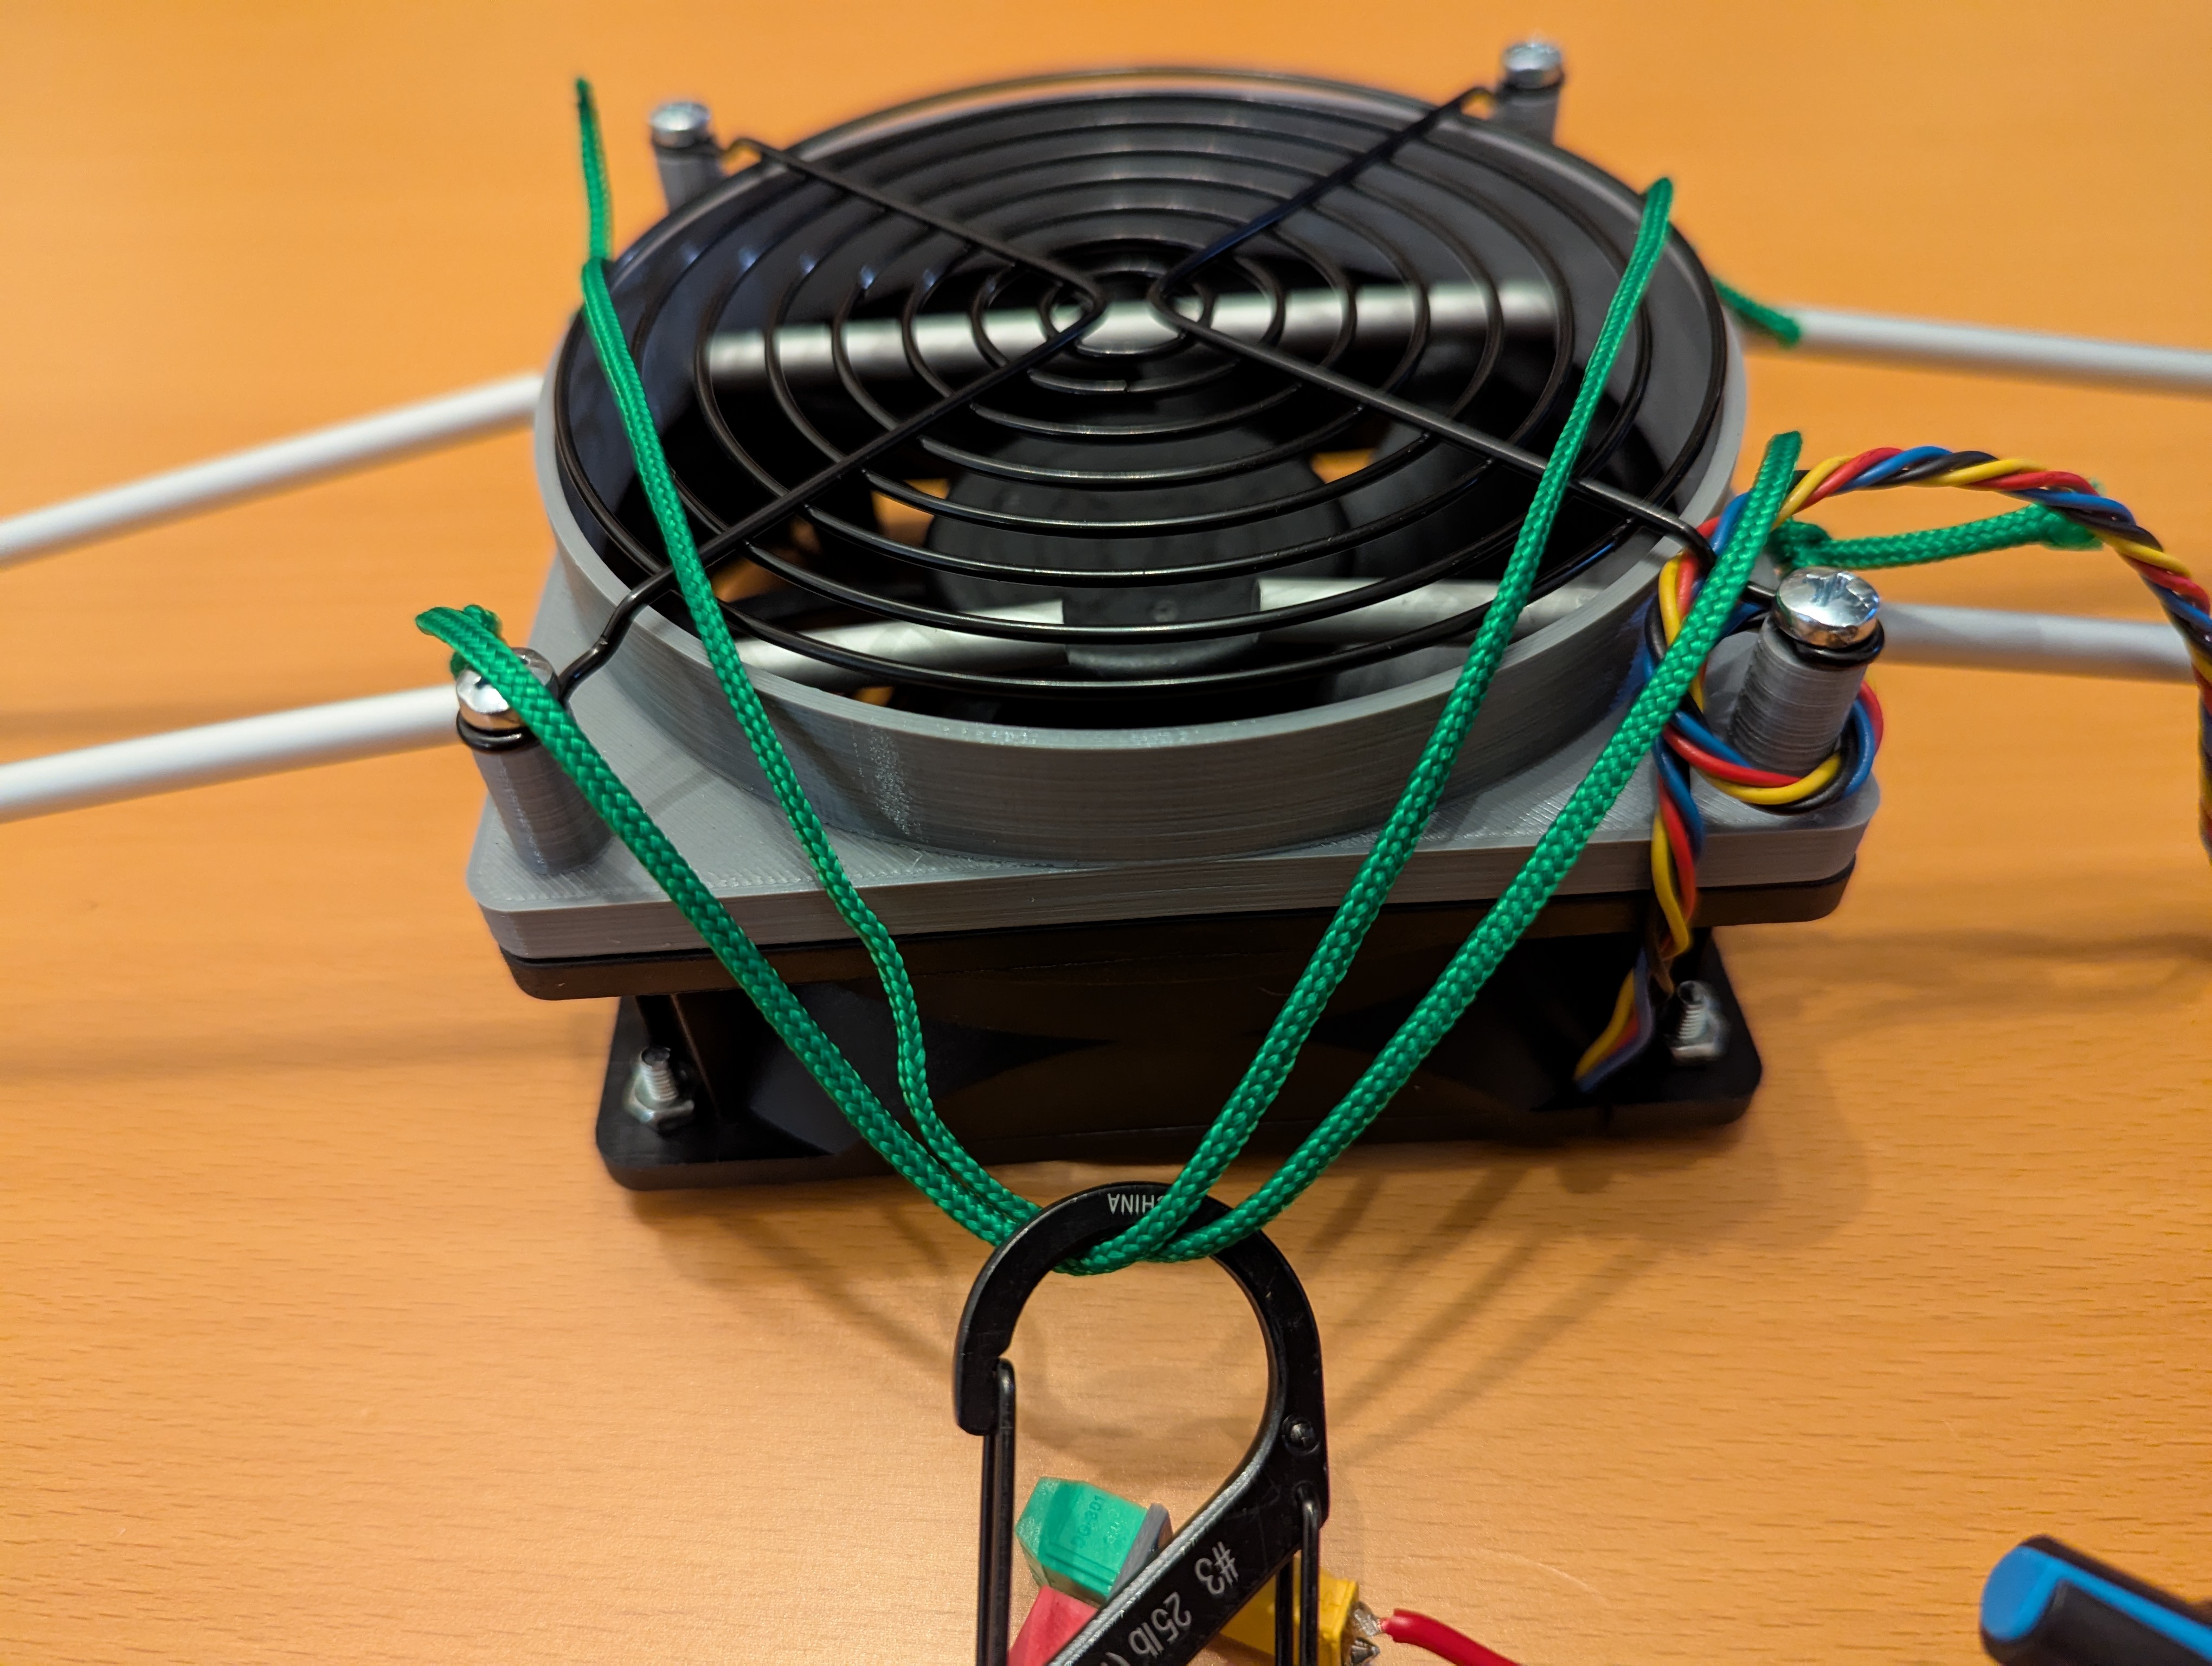
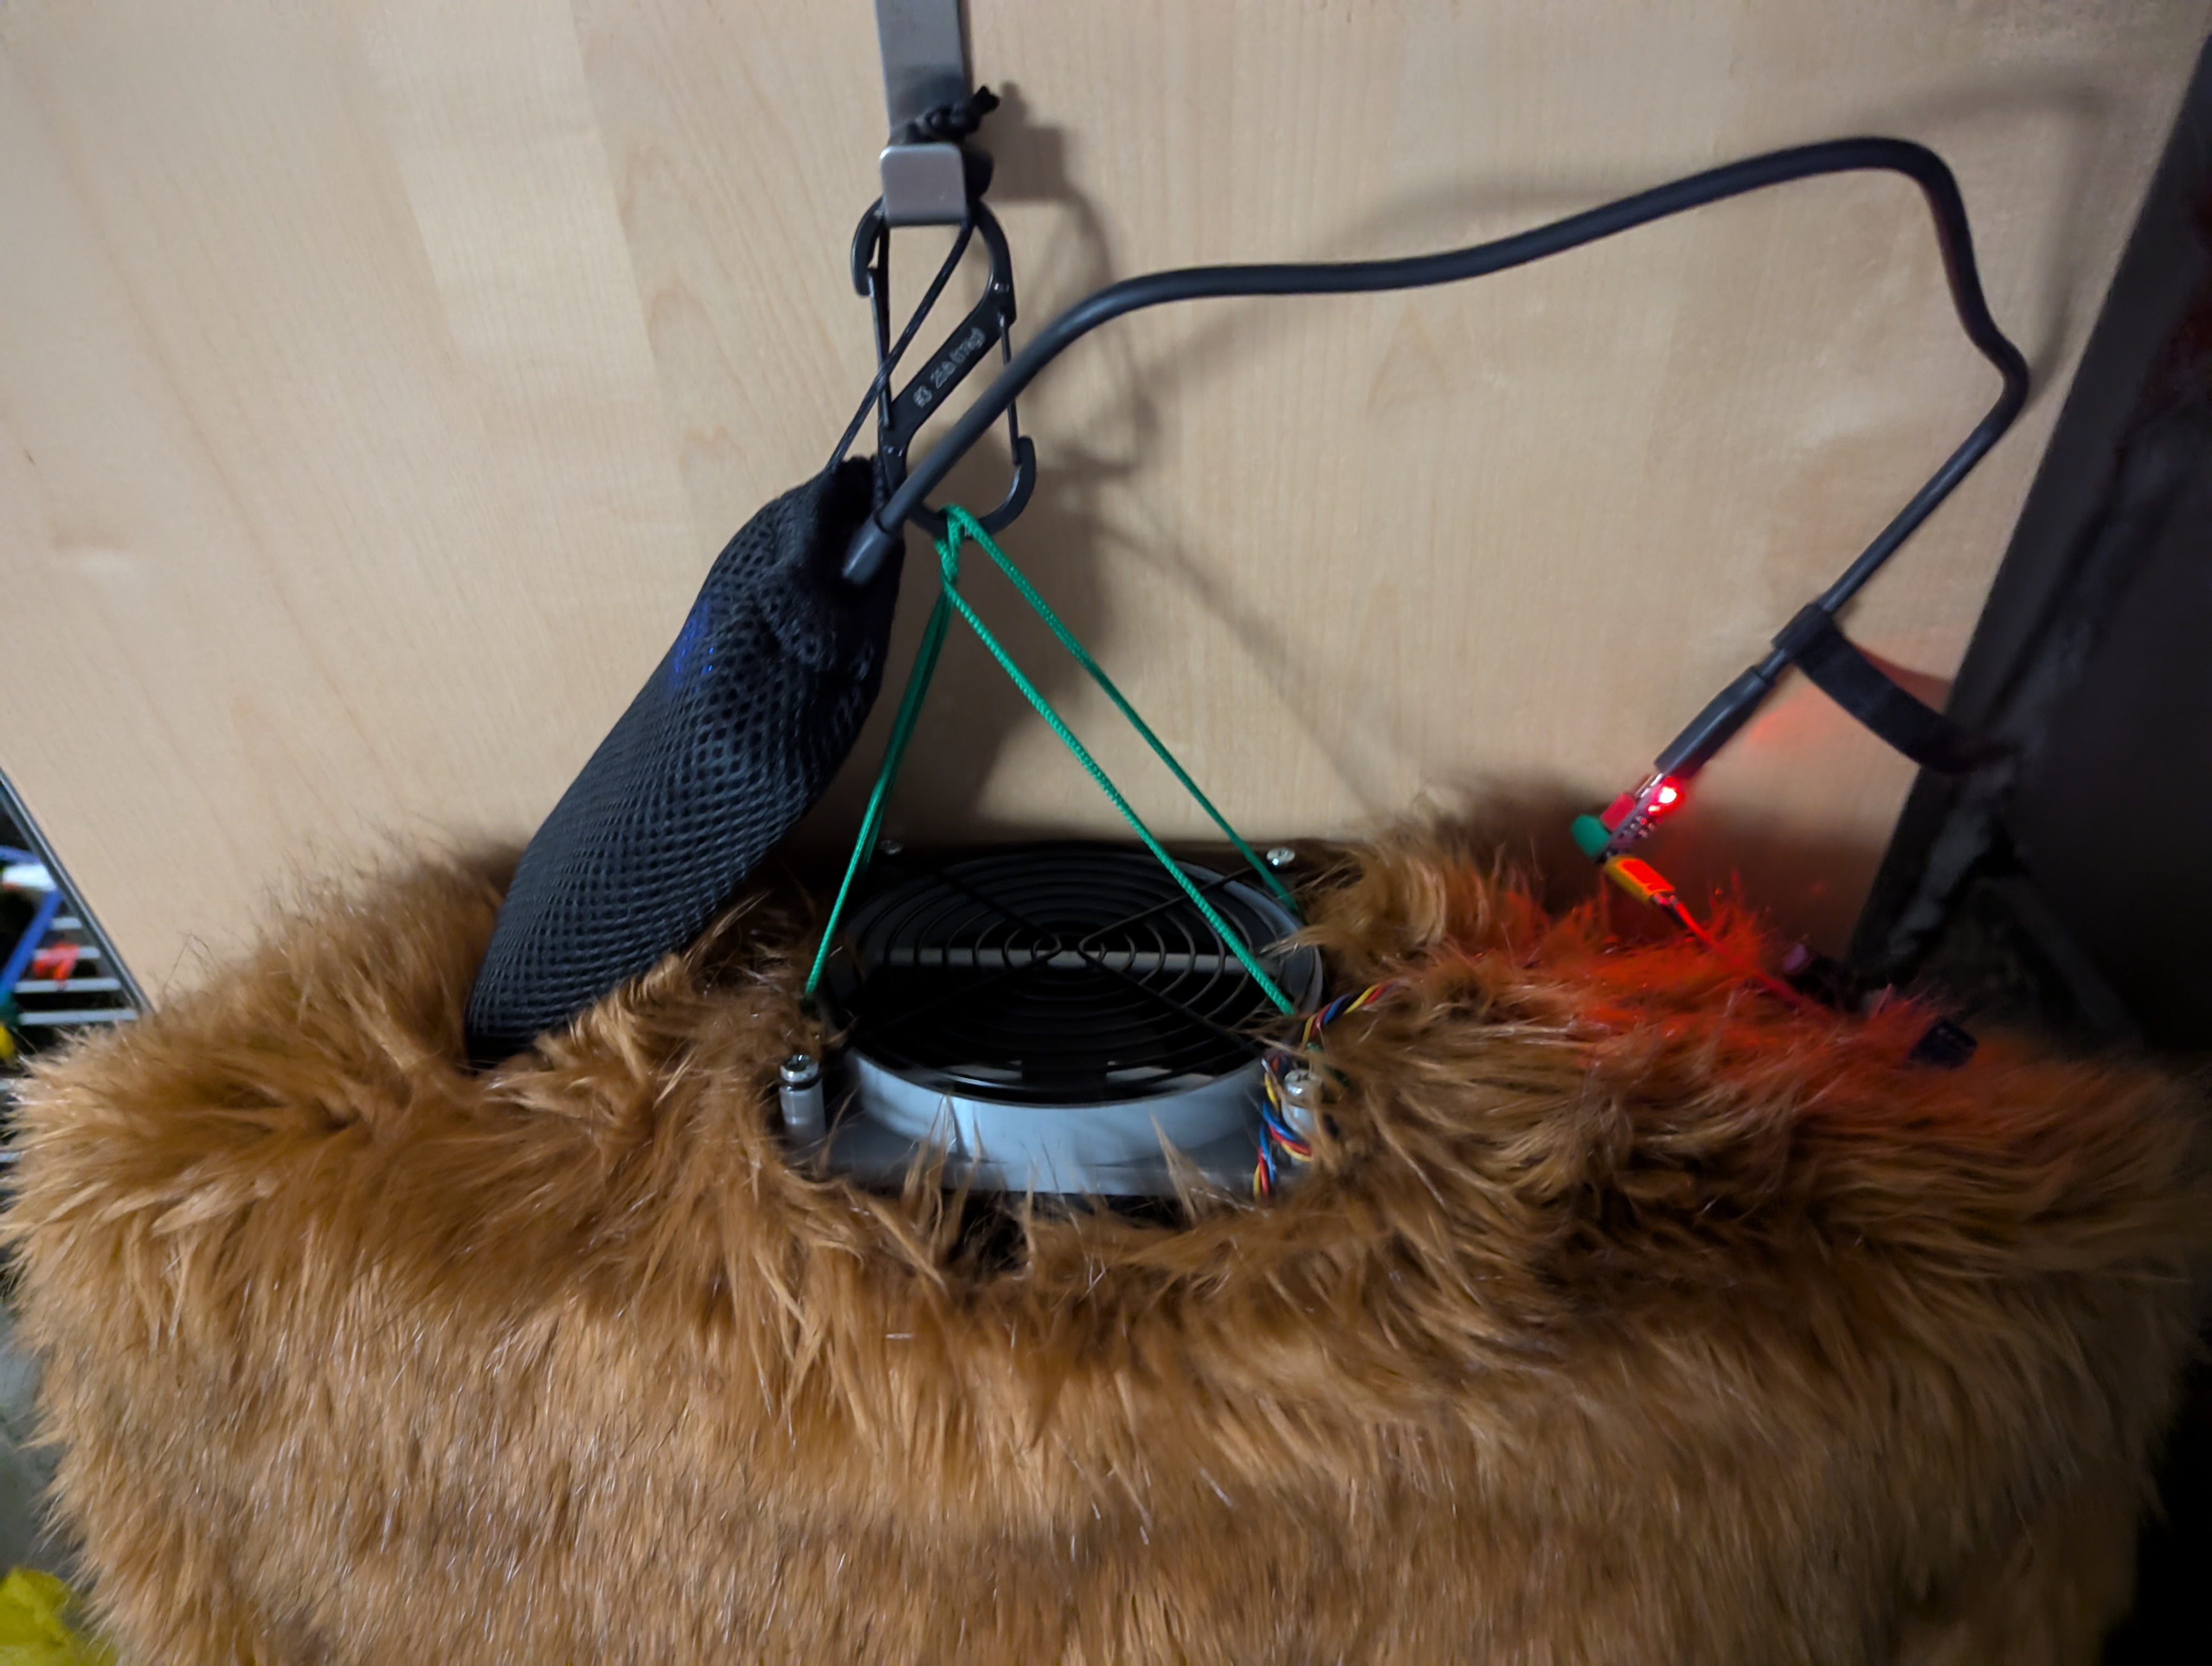
The purpose of the funnel is to avoid fur from the neck getting into the fan. If you mount the fan the other way (fan on top of aluminum loop, mount below) to get more air blown through the arms, you may want to make it longer if the suit has a low neck line.
Safety notice: use fan guards on both sides of the fan. Blades of high volume 12V fans can cut into your finger and you don't want to spoil your expensive fursuit with blood, do you?
Also, tie the cords to the aluminum loop, not the fan or the mount. My suits weigh between 6 kg and 8 kg (13 and 18 lb) when dry. The mounting holes are designed to hold the fan but not significantly more.
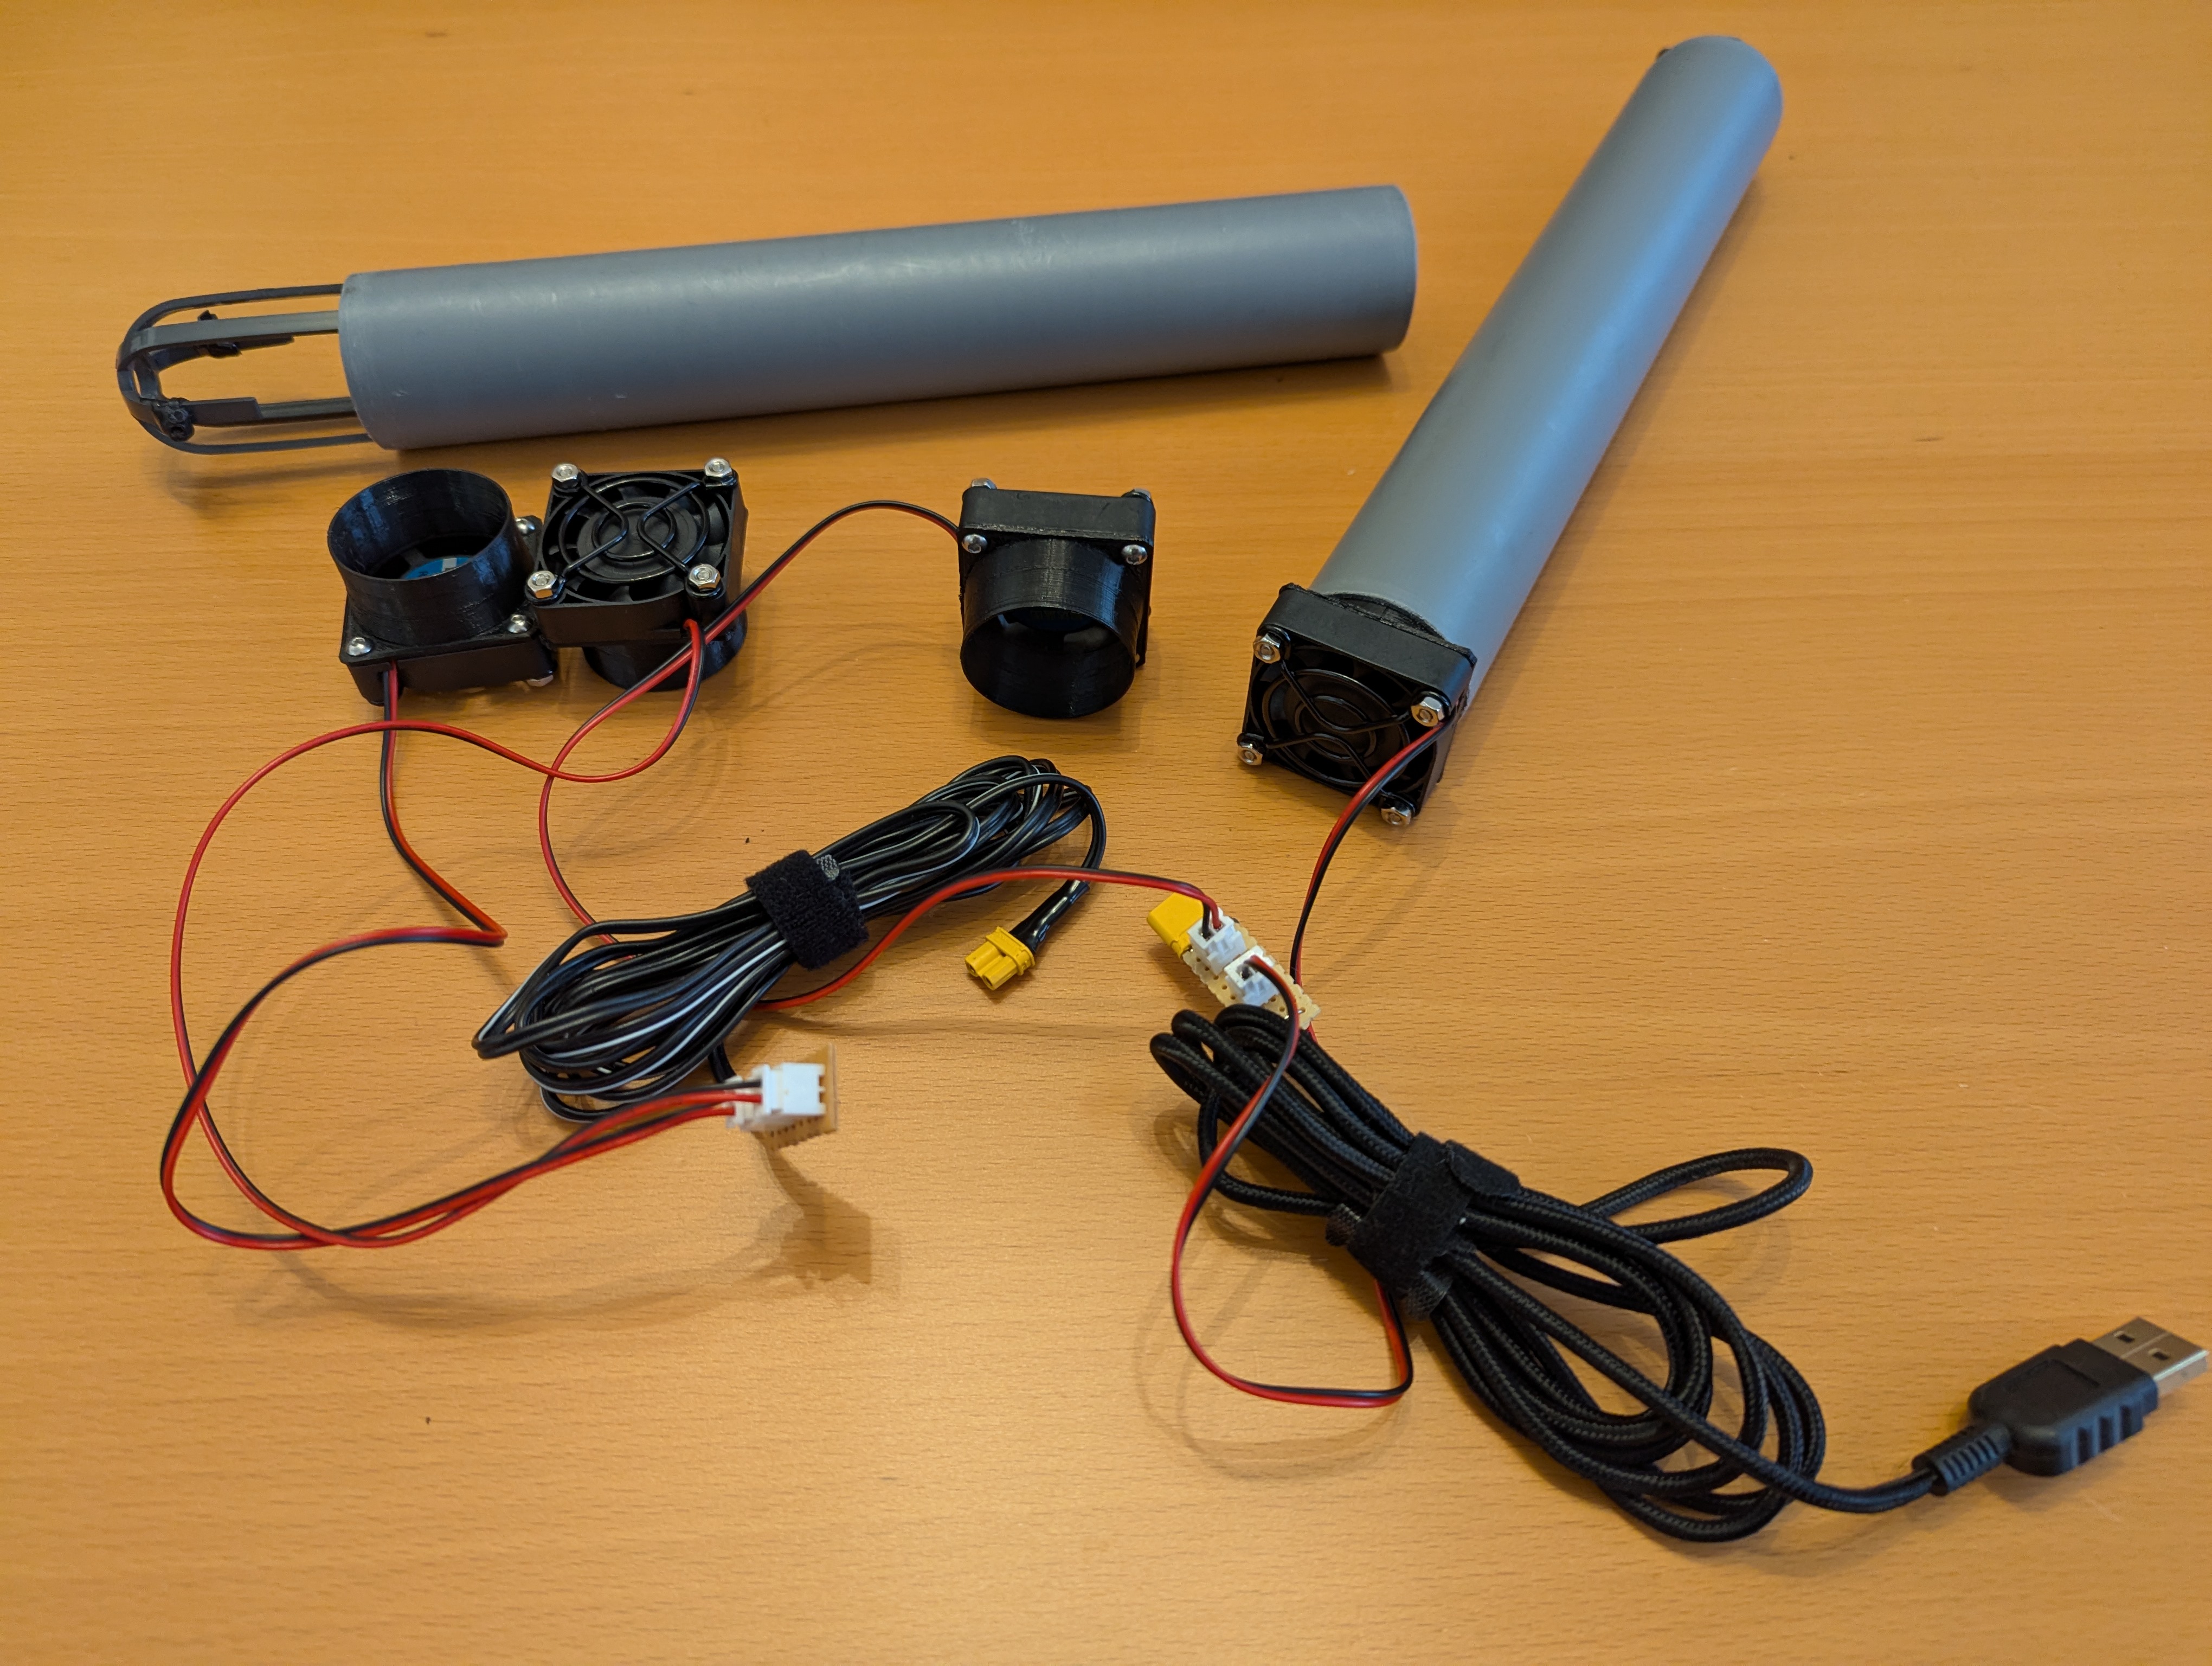
I've also designed new fan holders for the fursuit paw dryer. The previous version had the issue that the cable of the fan tends to shear off, and since I had to replace the fans anyway I redesigned the whole thing to mount directly on the fan and the nozzle now goes into the PVC tube.
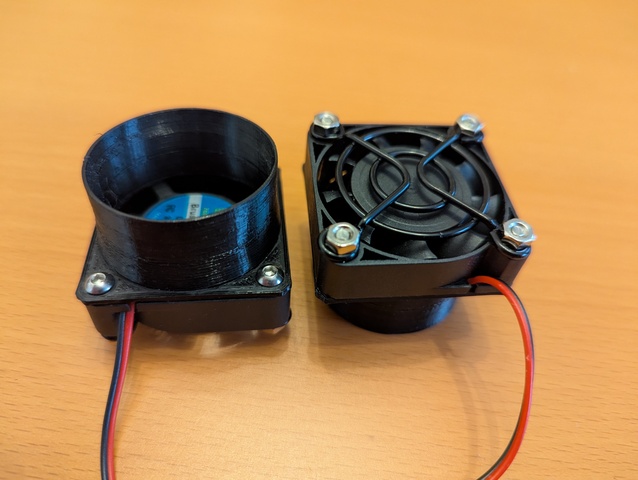
The nozzle may be a bit too thin, but so far all four of these mounts have survived several conventions.
Note: these small 5 V fans can't do much damage, but use fan guards to keep them from getting accidentally destroyed.
The 3D printed parts were modeled with OpenSCAD, the STL files are provided for completeness sake:
Comments
There are currently no comments
New Comment