Admittedly, a dryer for the head mask is more work, but still can be very cheap. One important aspect: it has to be lightweight but must be able to carry a fursuit head without tipping. So, another boring Sunday afternoon project was born. Version 1 looked like this:

I used:
Building:
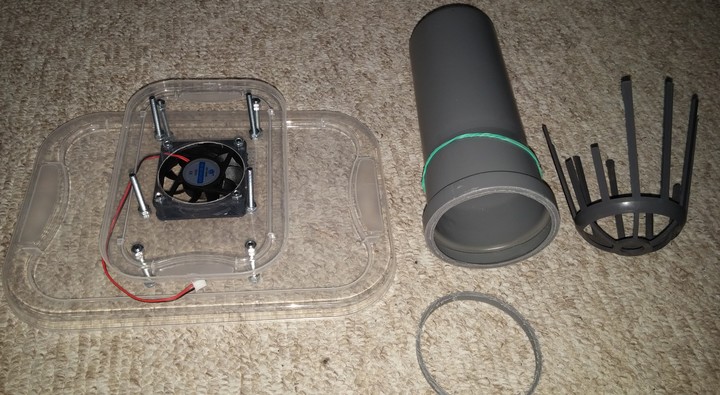
This works pretty well, but after a while the plastic lid wears out and the whole construction becomes rather wobbly. Also, if you want to fasten the lid on the box, remember to figure out where the cable goes before soldering the USB cable to the fan cable, otherwise you might need to cut another hole into the lid ot have the cable go into the box for transport. The screws through the base plate should be fixed to the plate with locking nuts, likewise the long screws that are clamping the pipe. The rest should be fastened only lightly to be able to take the whole thing apeart for easy transport.
As I wrote, the lid holding the pipes and fan wears out quite quickly, but I found some thin but riggid plastic bread boards at Ikea and updated the dryer to version 2.
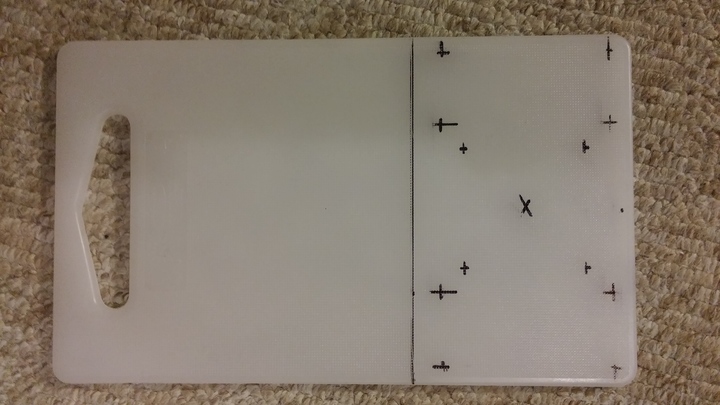
Marking the drill holes:
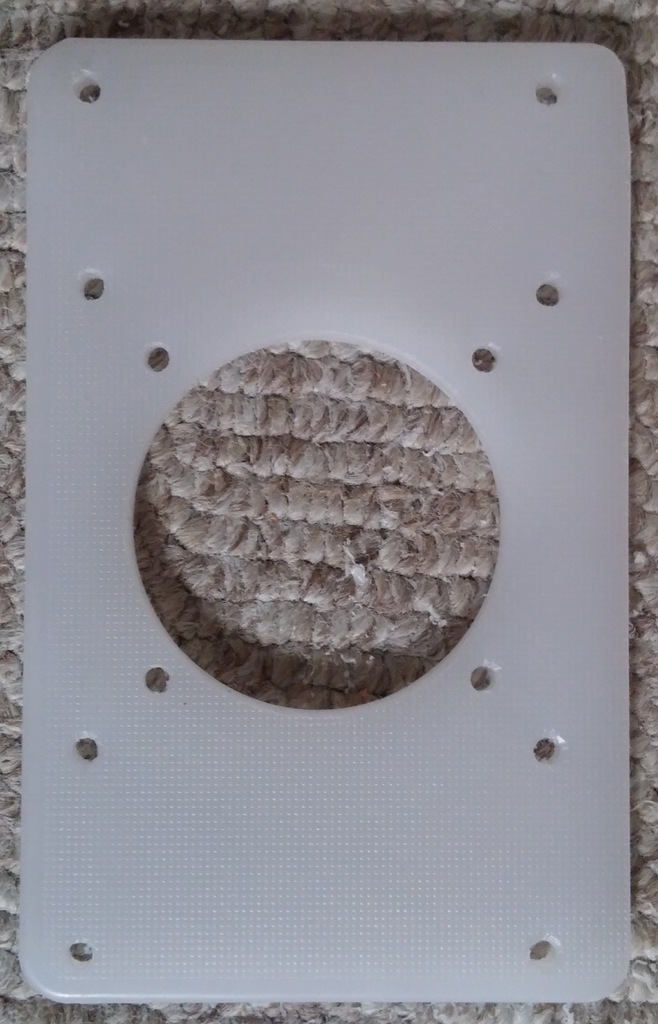
After drilling and cutting:
Result:

The base plate is still good, the larger Ikea bread boards unfortunately are rather thick and heavy.
Comments
There are currently no comments
New Comment